


5 Easy Steps to Creating a Facebook Business Page

Whether you like it or not, Facebook has become a part of our daily routine - you may be a Facebook user before bed, when you wake up, when you’re eating your breakfast, when you’re in line for your takeaway coffee, or all of the above! In fact, over 1.62 billion people use Facebook every day.
This begs the question: are you making the most of this fantastic FREE digital platform for your business?
If you’re yet to join the masses of businesses on Facebook, then read on! We're here to help get your Facebook Business set up in only 5 easy steps. If at any point you get stuck, feel free to get in touch with our team.
- Step 1: Creating Your Facebook Business Page
- Step 2: Branding Your Facebook Business Page
- Step 3: Business Page Settings and Templates
- Step 4: Setting Up Shop
- Step 5: Spread the Word!
Step 1: Creating Your Facebook Business Page
To start with, you must have a personal login to Facebook. Unfortunately you can’t just create a Facebook Business Page without a user connected, but you can always add another page Administrator later and remove yourself after (this is covered further down).
Once you have logged into your Facebook account, locate the ‘+’ symbol in the top right of your browser. Select ‘Page’.
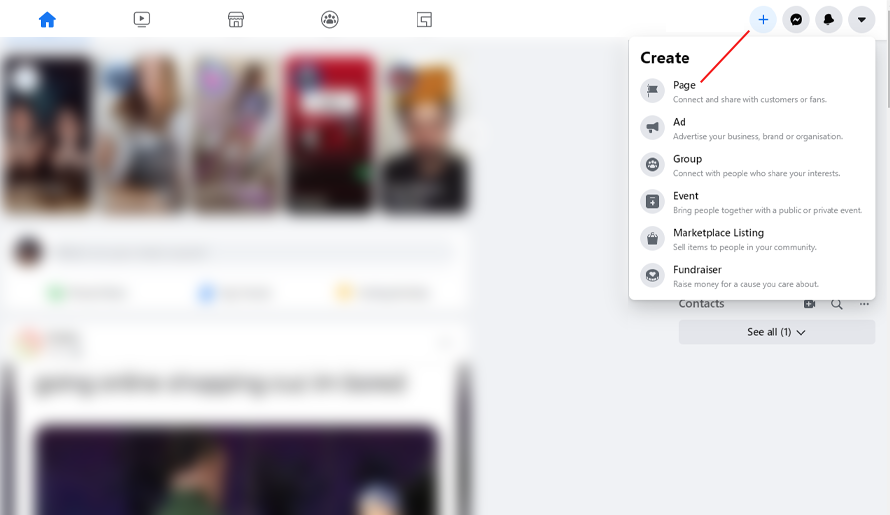
You will be prompted to choose between a Business or Brand, or Community or Public Figure page. Most of you will be selling products or services, so select Business or Brand.
You will then be prompted to enter in the name of your page, and select the category it falls into.Make sure you check the name is correct before proceeding, as this can be difficult to change later.
You must also enter in an address - but don’t worry, you can choose to not show this later on.
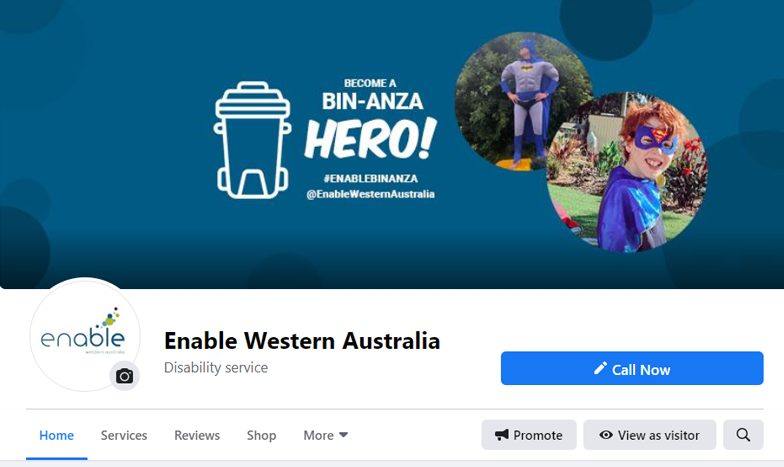
Step 2: Branding Your Facebook Business Page
The next step is a great opportunity for you to create a consistent brand between cover image, logo and profile image.
Your profile picture should be a minimum of 180x180 pixels, but we recommend 400x400 and above for sharper imagery. Try to keep your logo centred in your profile image, as Facebook crops your profile picture down to a circle.
Your cover image should be 828 x 465 pixels for optimal fitting. If you choose to add text to your cover image, keep in mind that the image will respond to mobile view. Make sure to test how it looks across all platforms.
Cover images also allow for video upload - this is a great way to add a professional edge to your Facebook Business page and stand out from the competition! Just make sure to choose a high quality video.
Step 3: Business Page Settings and Templates
There are three primary areas you need to become familiar with in the next step.
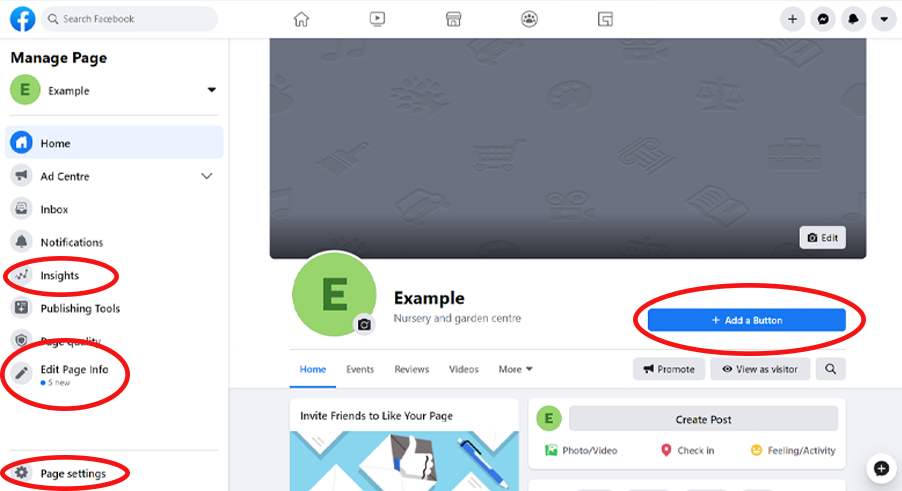
- Page Settings/Edit Page Info
- Insights
- Add a Button
Page Settings:
Firstly, head to Page Settings, and locate ‘Template and Tabs’ on the left hand side. Click on Templates -> Edit.
This will open a whole list of templates available for you. For our example, we are a page that sells physical goods, so we will select the ‘Shopping’ template.
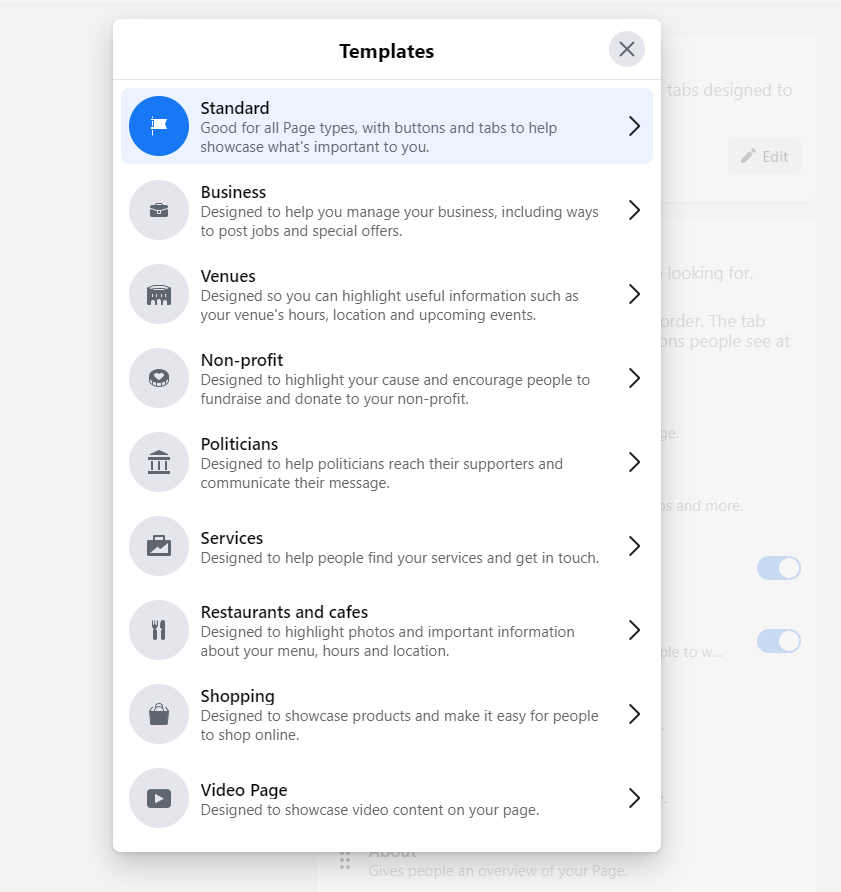
Once you’ve applied your template, you can select which tabs you would like. Simply toggle the on/off switch to change what is shown.
You can also drag and drop the order of your tabs by holding down on one and dragging it to wherever you’d like.
From here, work your way down the list of items on the left hand menu, starting with ‘General’ and ending with ‘Page Management History’.
Here’s a quick rundown of what each section means:
General:
managing settings such as tagging, age restrictions, profanity restrictions, also where you can remove your page.
Messaging:
where you can set up auto responses (recommended!)
Page Info:
the name and contact details of your business. When creating a username, try to use one that’s related to your business name, and not too long.
Templates and Tabs:
where you can change the order of your page tabs or change templates.
Event Tickets:
Accessible to those with Eventbrite accounts for synching and ease of purchase.
Notifications:
edit which notifications you receive.
Advanced Messaging:
manage settings for bots.
Page Roles:
this is a big one! You can give full access to someone else on Facebook here, by heading to the ‘Assign New Page Role’ area and entering their name.
You can then assign them access, and they will receive a notification in their regular Facebook dashboard. This step can be tricky, and doesn’t always work straight away. If you need help assigning page roles, get in touch.
People and Other Pages:
gives you permission to ban certain users from engaging with your content (providing they like your page).
Instagram:
where you connect your Instagram account for multi platform sharing.
WhatsApp:
connects your phone to your business page for seamless communication.
Payments:
make sure you select the right currency. This can’t be changed later!
Page Management History:
here’s where you can see who’s made which edits and when.
Insights:
The Insights page is located on your left hand menu of your Business Page. This page is where your page data is kept - how many likes you receive week on week, how many people engaged with your content, your reach etc.
This is great for performance reports, and seeing where you could improve and where people really engaged with your posts.
Add a Button:
This is your call to action, and the first thing a user typically sees when they come across a Business Page. What action do you want them to take? Click on the button and select which option you need in order to get conversions.
Step 4: Setting Up Shop
Once you’ve added your button, locate your Shop tab on your profile. If you haven’t rearranged your tabs, it will be under the ‘More’ arrow.
Depending on your chosen template, you may have other options appear, like Services, Events etc.
Click on 'Shop' and read the Terms and Conditions before pressing ‘Accept’.
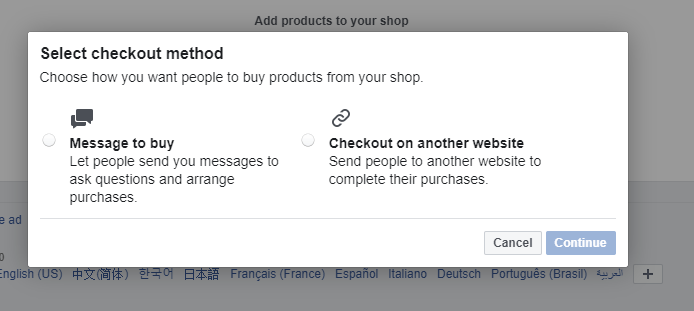
From here you have two options - you can either ask people to message you to purchase, or you can link them to a checkout page on your website.
If you don’t have a website, you will have to select ‘Message to Buy’.
Once you have selected your method, it’s simply a matter of following the prompts through to the end. Facebook will prompt you for each product’s title, description, condition, price and whether it is in stock.
When you’ve done that, make sure to head back to ‘Page Settings’ -> ‘Templates and Tabs' and rearrange your Shop tab to be right next to your Home tab (if you haven’t already).
Step 5: spread the word!
Congratulations! Your Facebook Business Page is ready to go, now it's time to grow! (I had to!)
The easiest way to gain an audience is by using existing email lists and friends from your personal account. But if you want to take the next step (keep in mind, this is where you start spending money), then you want to start advertising your page.
Now, I could get into a massive 3 day long tutorial on the differences between ads, boosted posts, Instagram tagging, shopping ads, canvas ads, carousel ads and Ads Manager, but I’m going to keep things simple today.
For your first ad, head to your Business Page’s profile, and locate the ‘+’ button again. This time, instead of selecting ‘Page’, you want to select ‘Ad’.
Depending on your chosen template, you may have other options appear, like Services, Events etc.
Facebook has split out its different marketing objectives into the following categories:
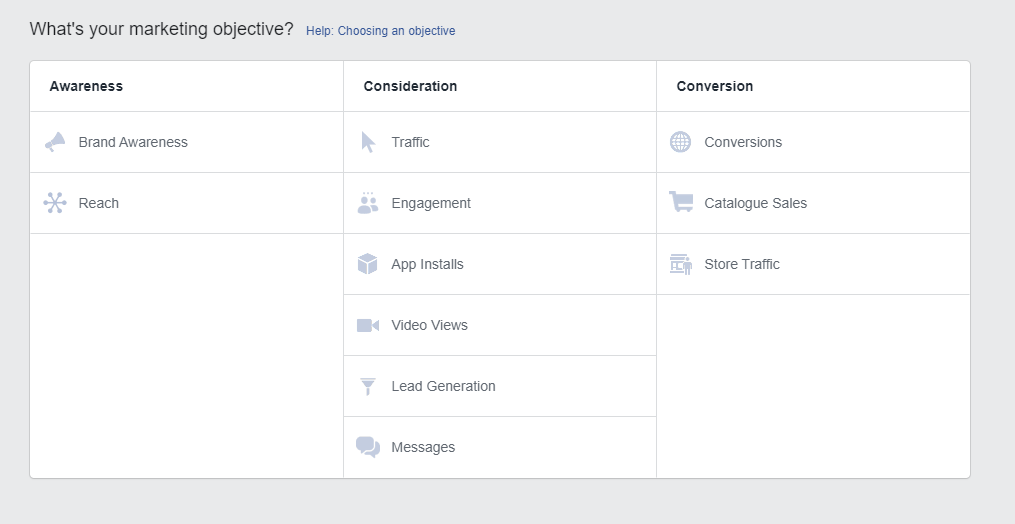
For your first ad, you want to spread awareness that you exist, so select Brand Awareness.
From there, follow the steps to create your first ad, just make sure to triple check everything before you go live!
To track your ad performance easily, head back to your Facebook Business Page, and click ‘Ads Centre - All Ads’ on the left hand side.
Again, once you dive into the world of Facebook marketing, things can become a bit trickier.
Facebook pixels, Ads Manager, Business Manager and creating ad imagery can be a massive time consumer if you’re not sure what you’re doing.
If at any point you feel like you might need a hand, we’re always here to help.
Good luck with your first Business Page, and get selling!